TL;DR
Let's Do It Together!
Step 1: Access Member Dashboard
Click on the Members Home to go to your members homepage.
From the homepage, click on the Member Dashboard link.
You will now see your profile and achievements on the Member Dashboard.

Step 2: Explore Dashboard Features
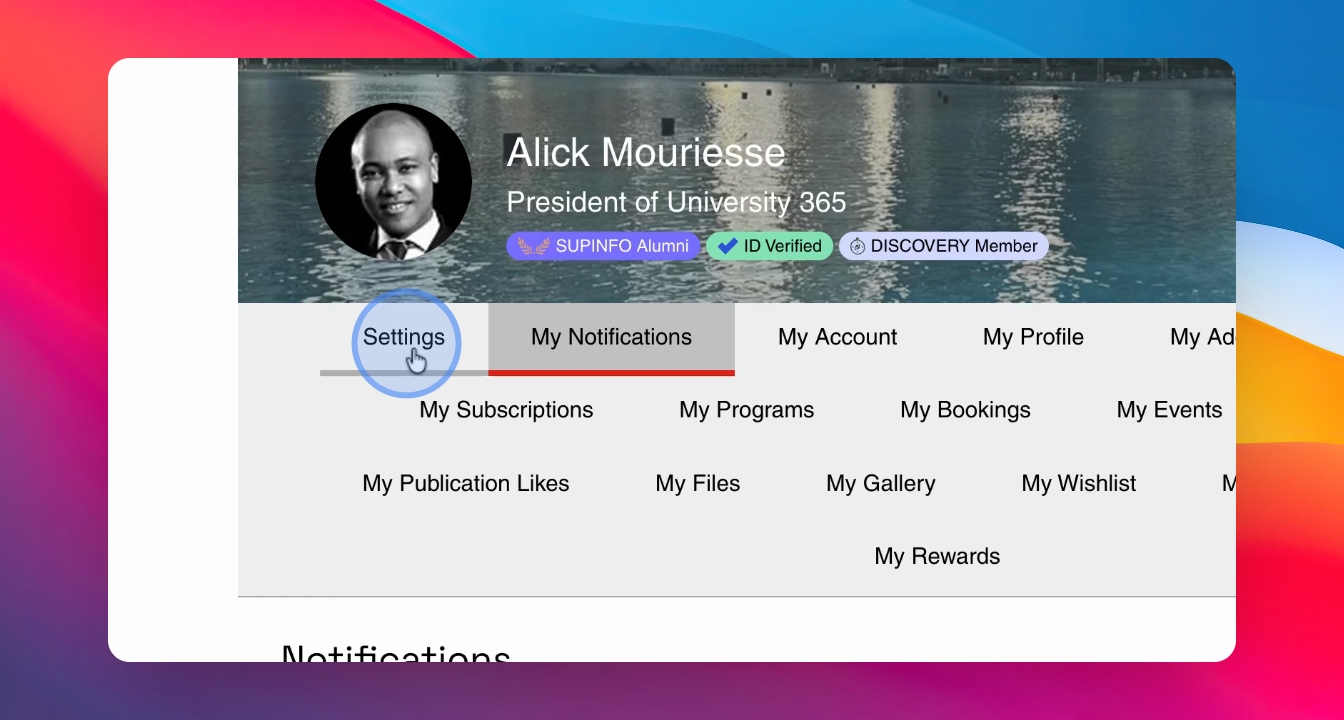
View your profile picture, background, name, and position.
Check the badges that display your achievements in University 365.
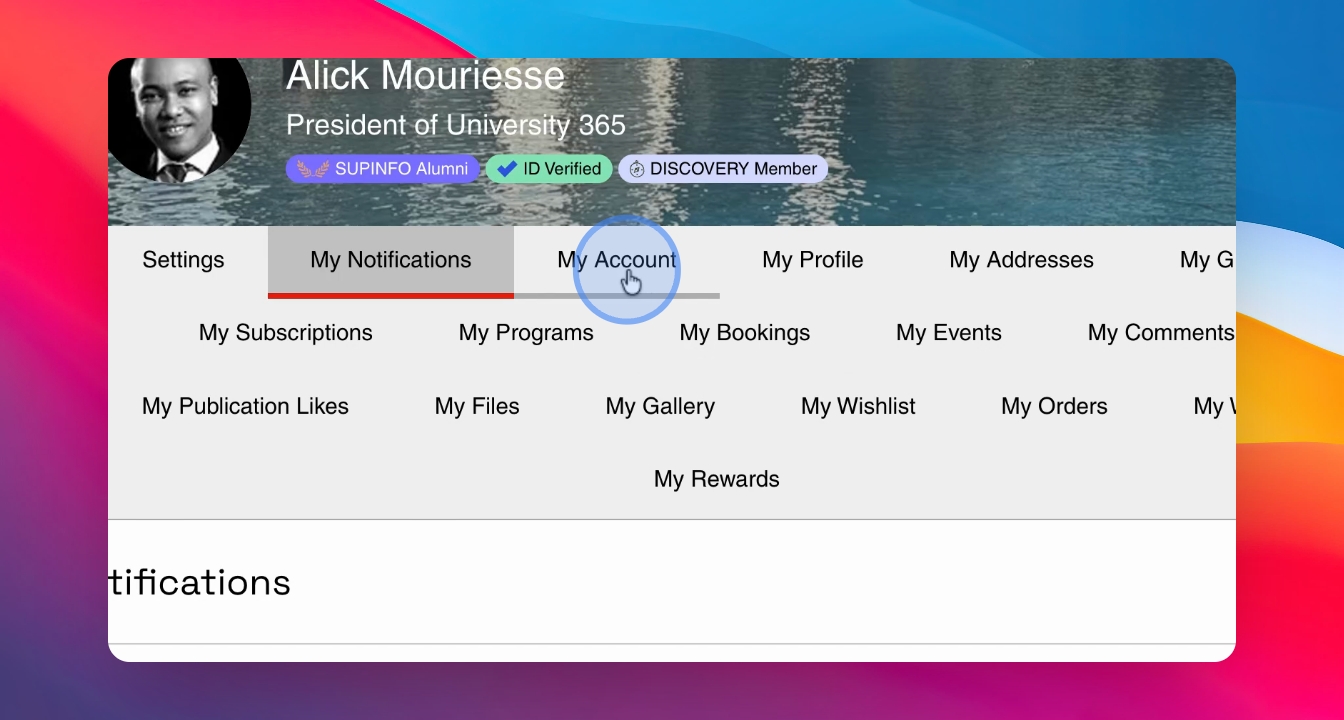
Navigate through the menu for different parts of your Member Dashboard.
Step 3: Update Settings
Go to the Settings section to modify your email notifications.
Decide on options for marketing emails and program updates.
Manage your notification preferences here.
Step 4: Manage Profile Information
Click on Dashboard to access your notifications and account settings.
Update your display name, title, and profile picture.
Change your personal information and phone number if needed.
Step 5: Adjust Login and Privacy Settings
Modify your login, email, and password.
Set your profile visibility to private or public.
Edit your profile URL for sharing purposes.